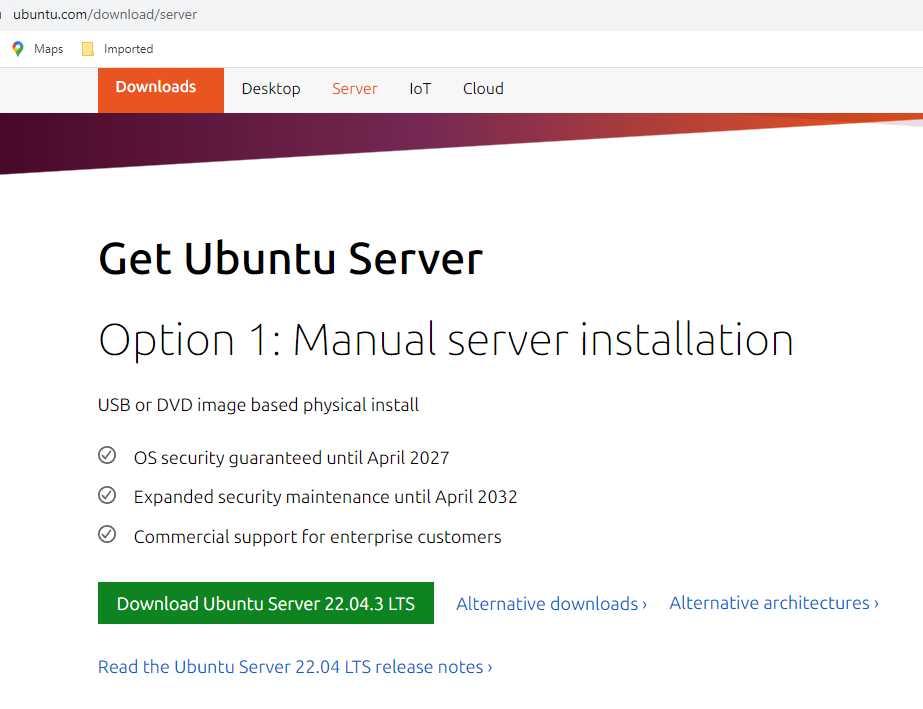
Step 1: Download the Installation Media
Step 2: Choose Your Installation Version
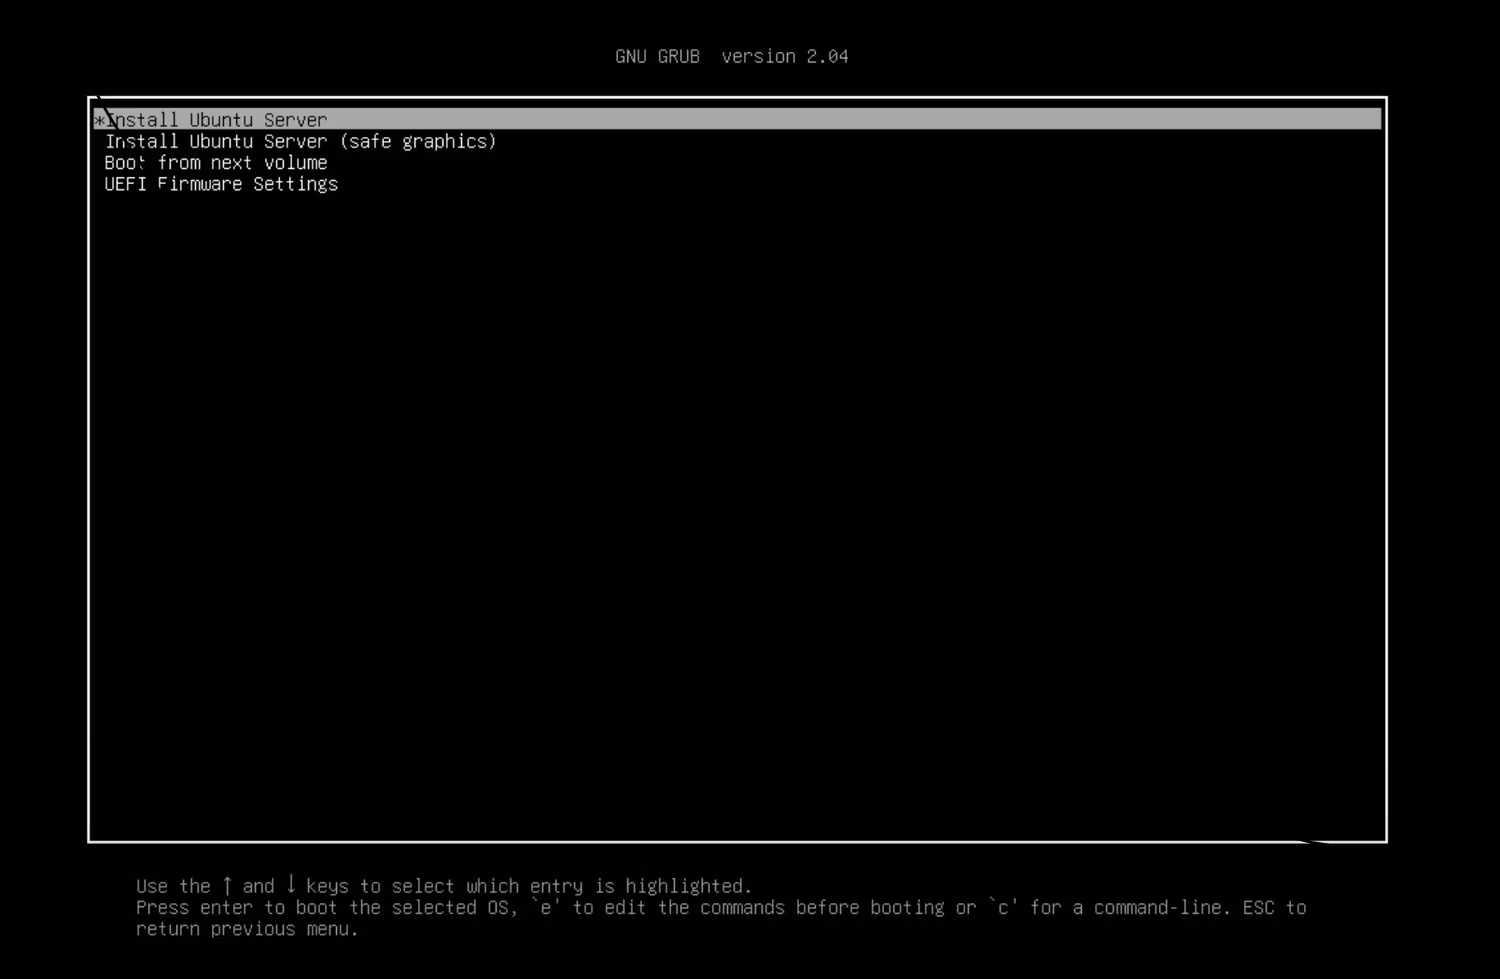
Select Install Ubuntu Server option from the list of options. You can navigate through the options with the arrow keys. Press Enter to select the desired option.
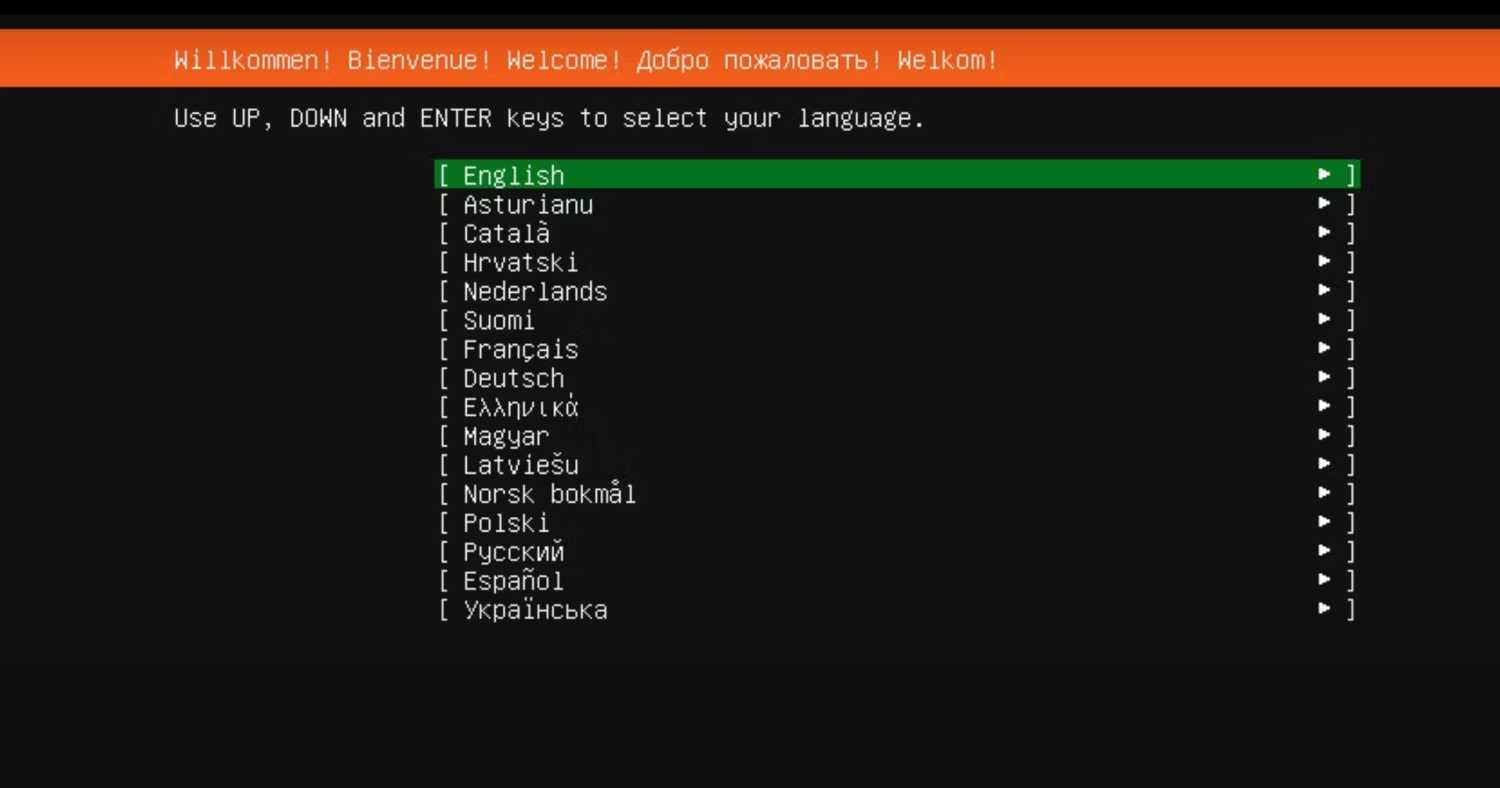
Step 3: Select the Language
Step 4: Skip the Installer Update
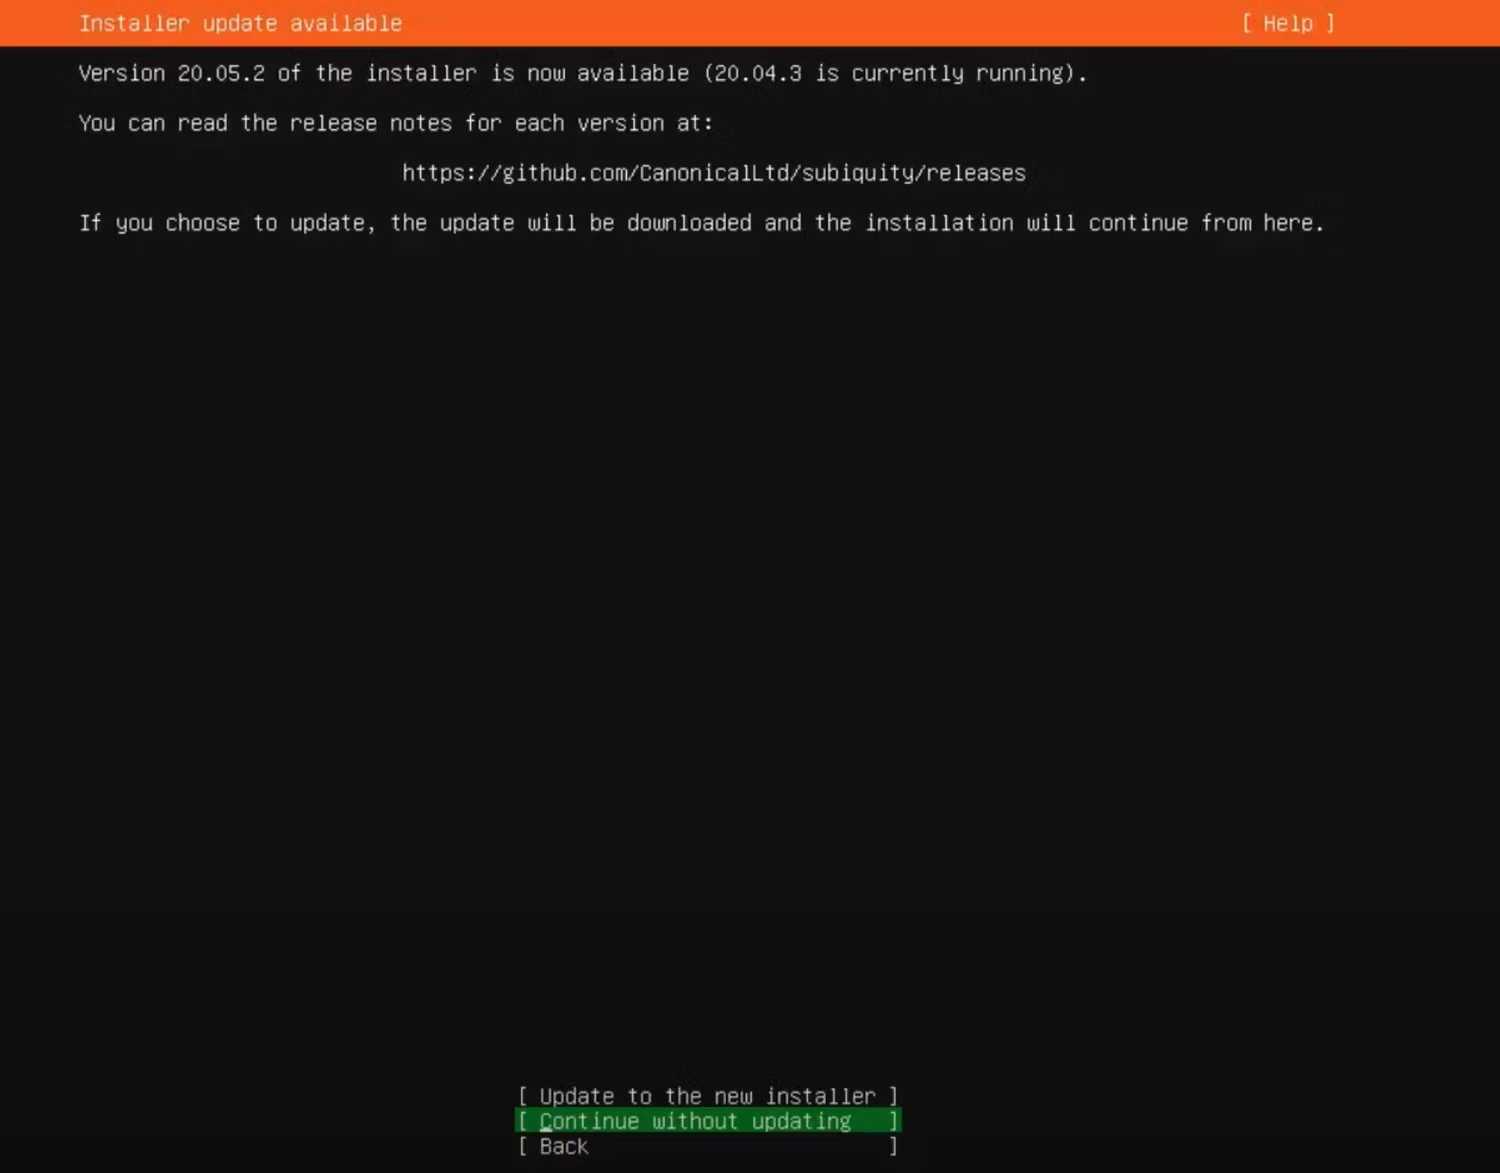
select the second option, Continue without updating.
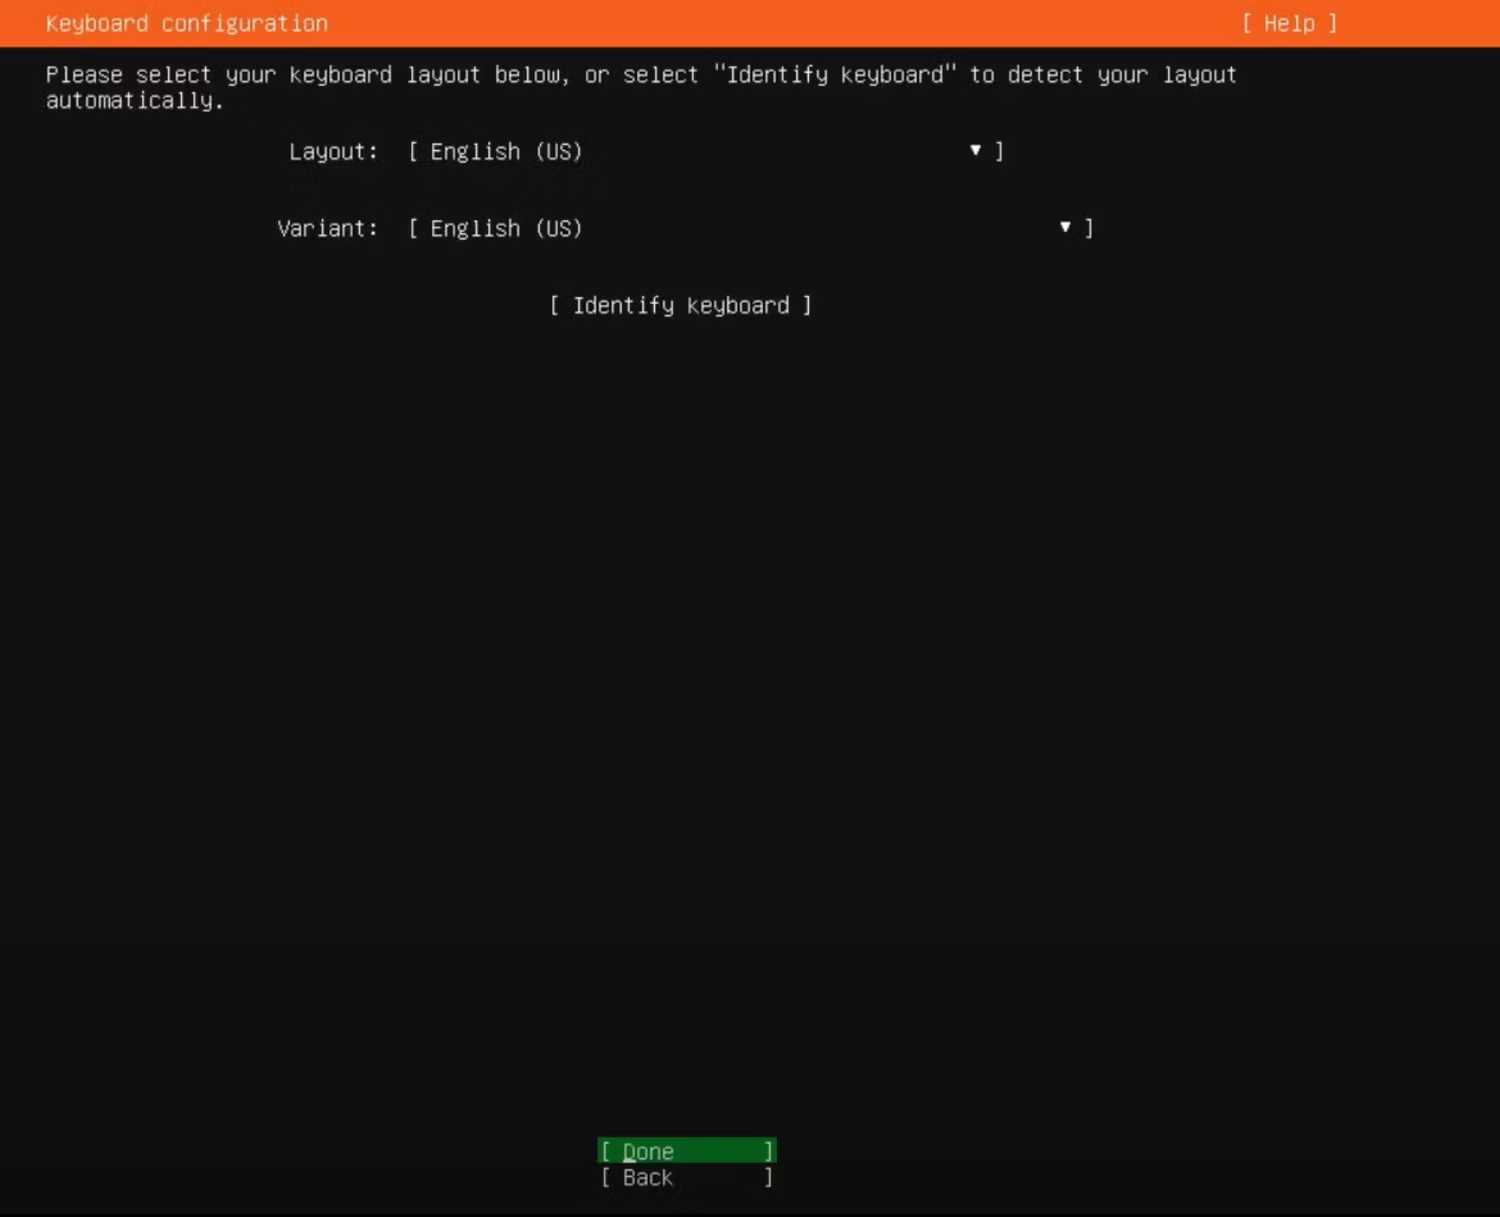
Step 5: Choose a Keyboard Layout
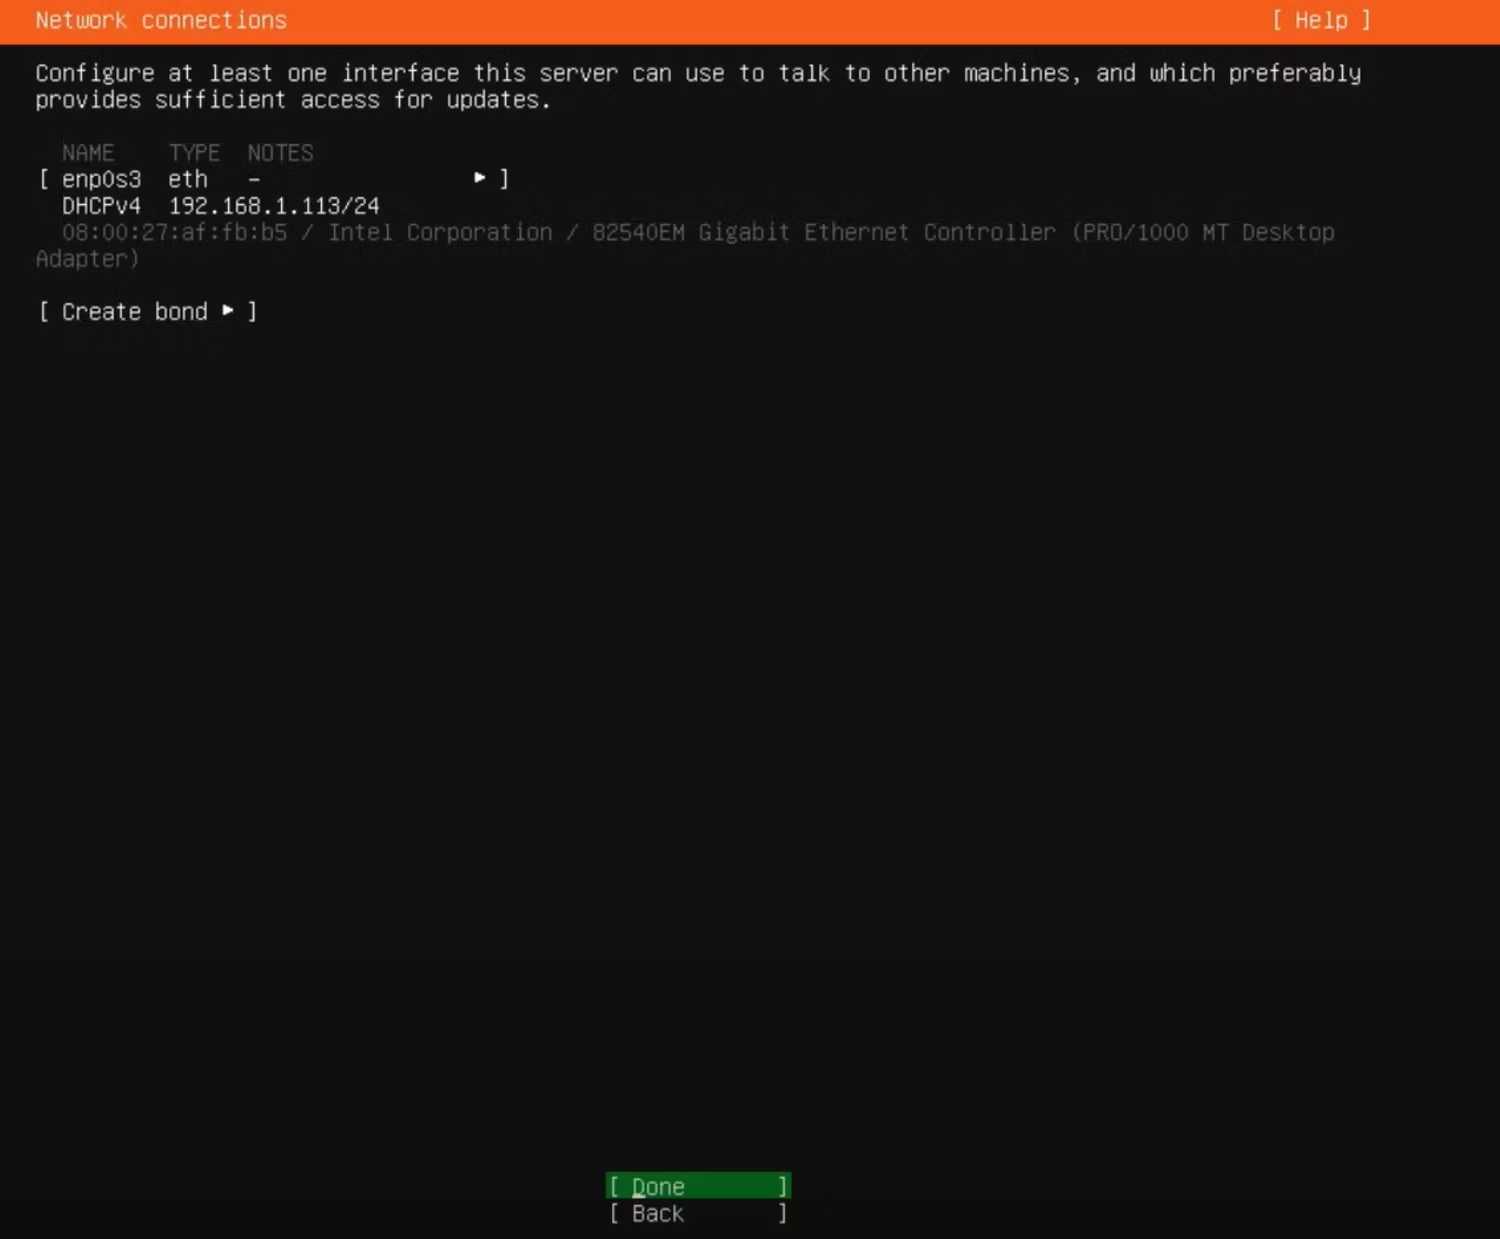
Step 6: Configuring Network Interfaces
Step 7: Configure Proxy Details to Connect to the Internet
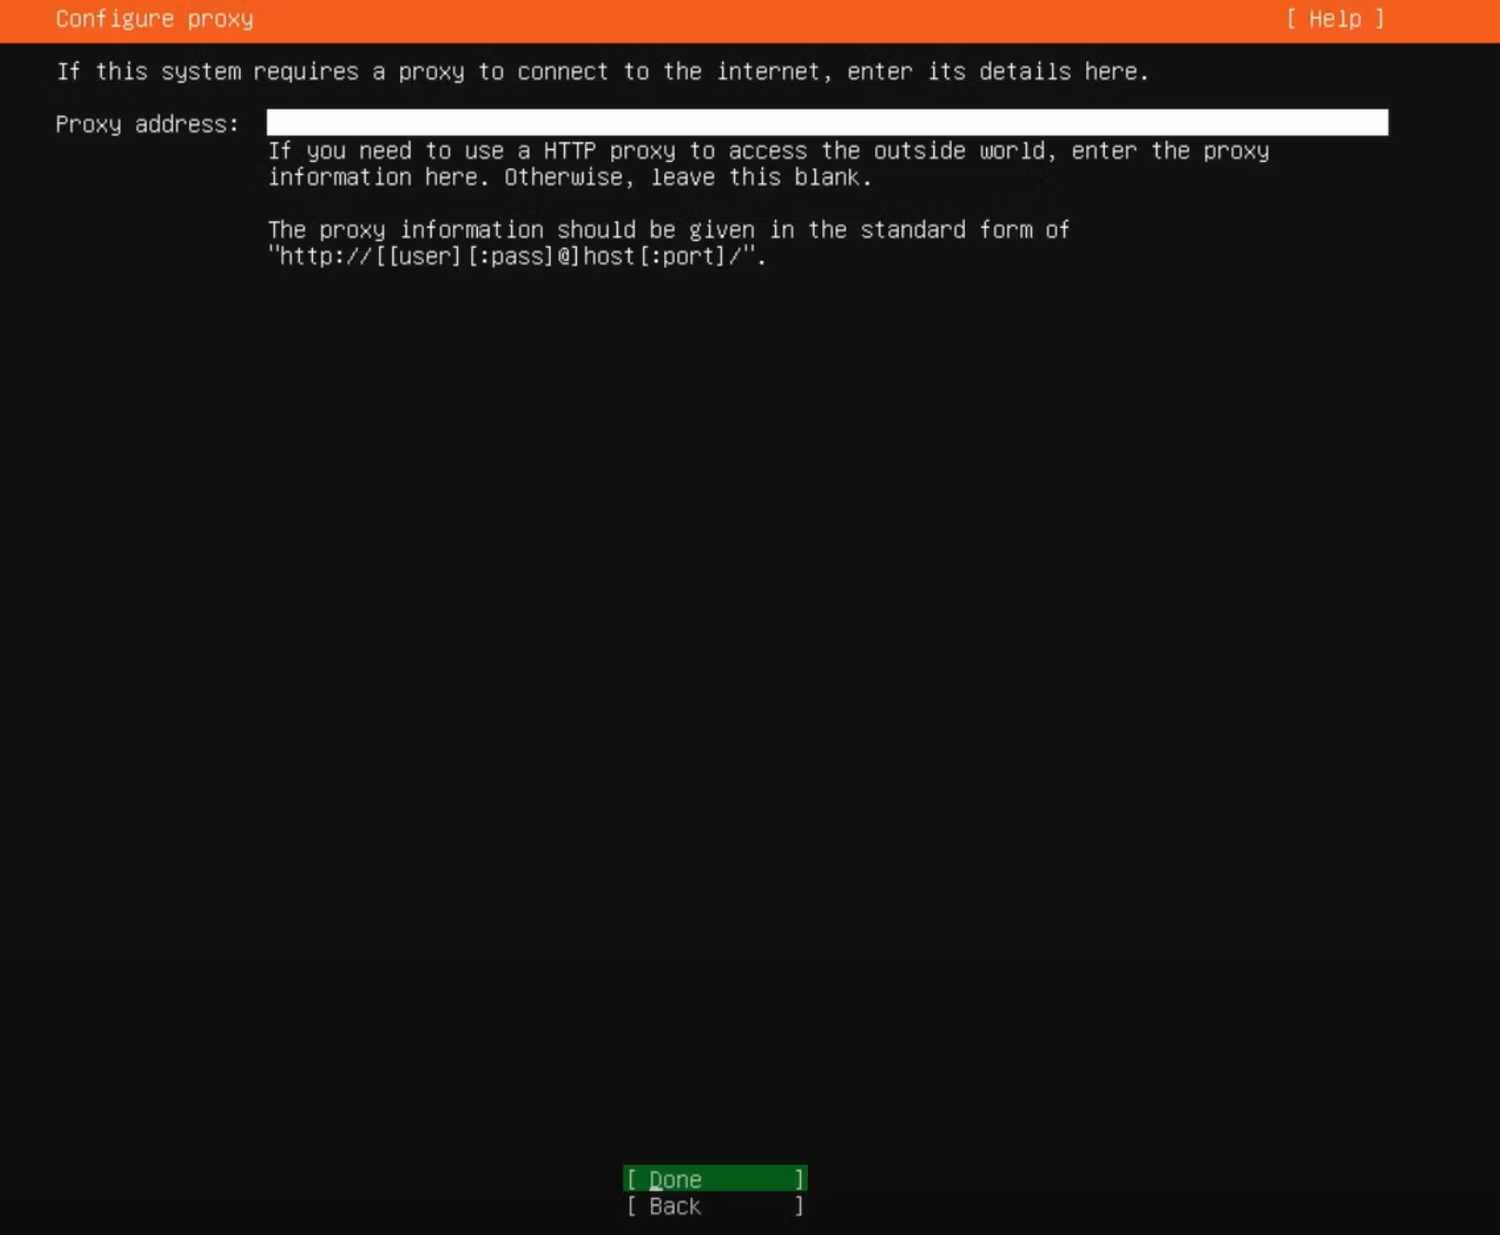
In case you have proxy details, you can enter the details on this screen. If not, leave it blank.
Select Done, followed by Enter.
Step 8: Configure Ubuntu Archive Mirror
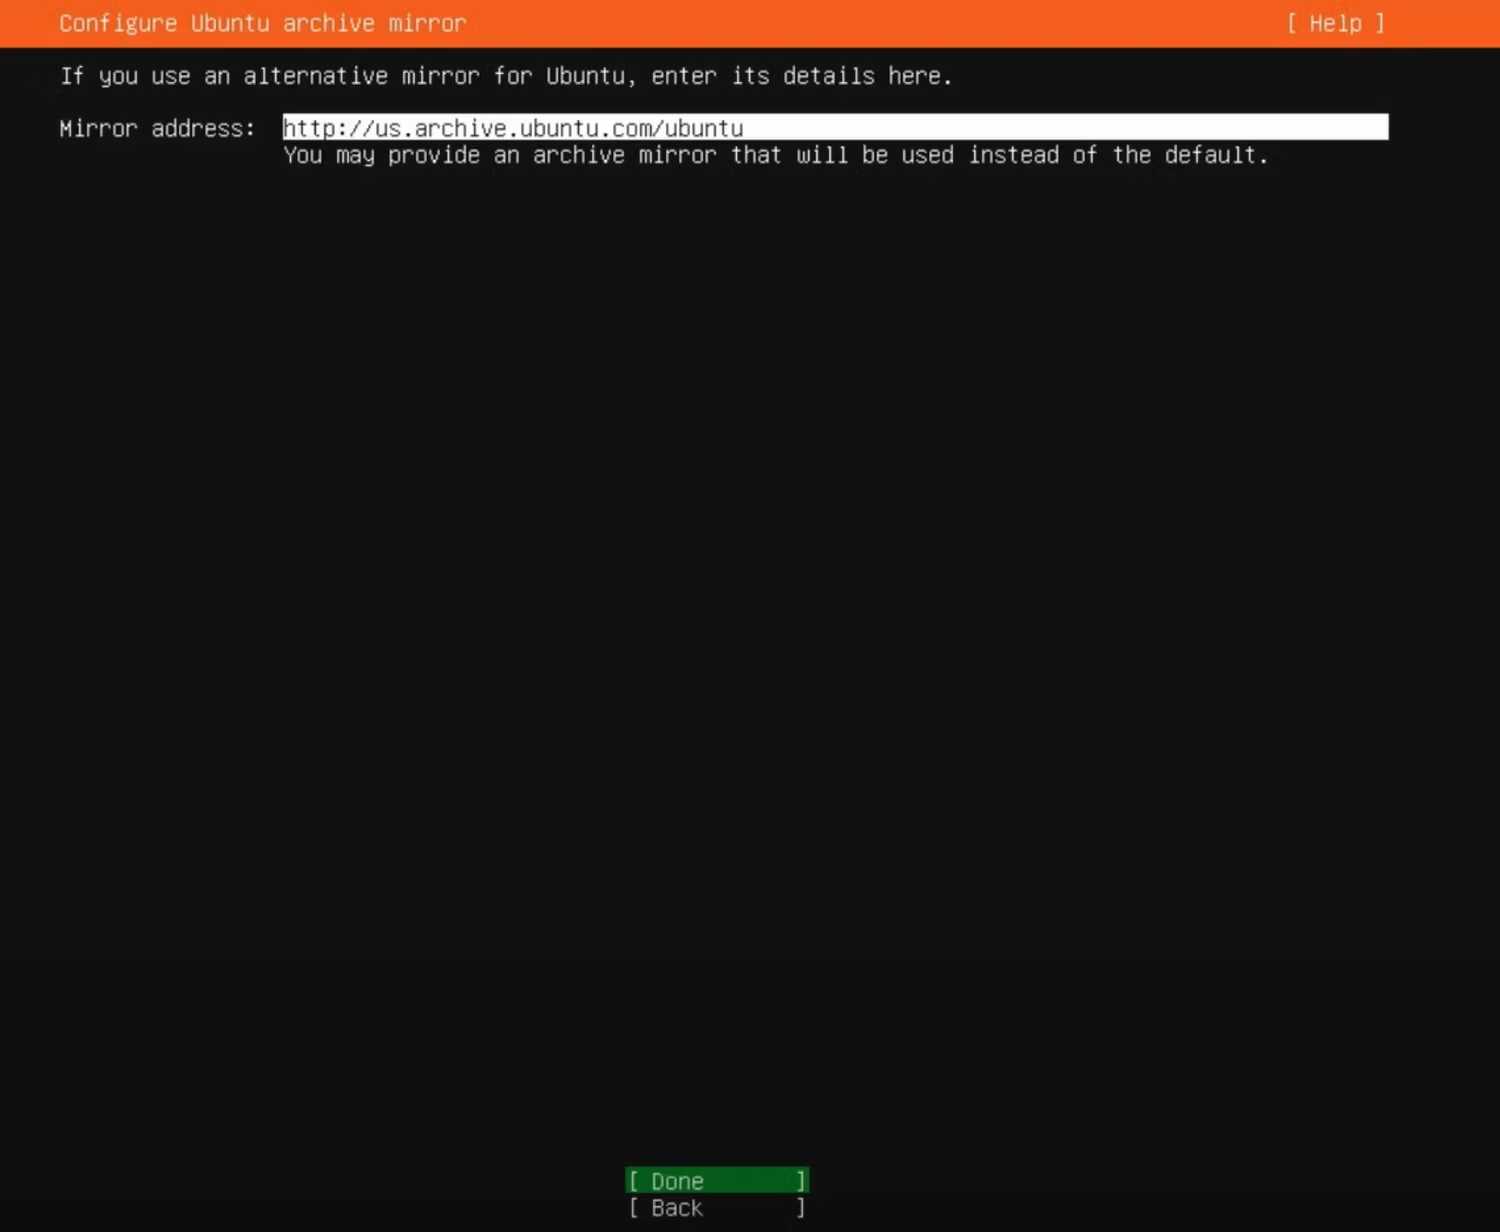
A default mirror is selected automatically for you. In case you don’t want to set a default address, you have the option of selecting an alternative.
Select Done, followed by Enter.
Step 9: Choose the Storage Configurations
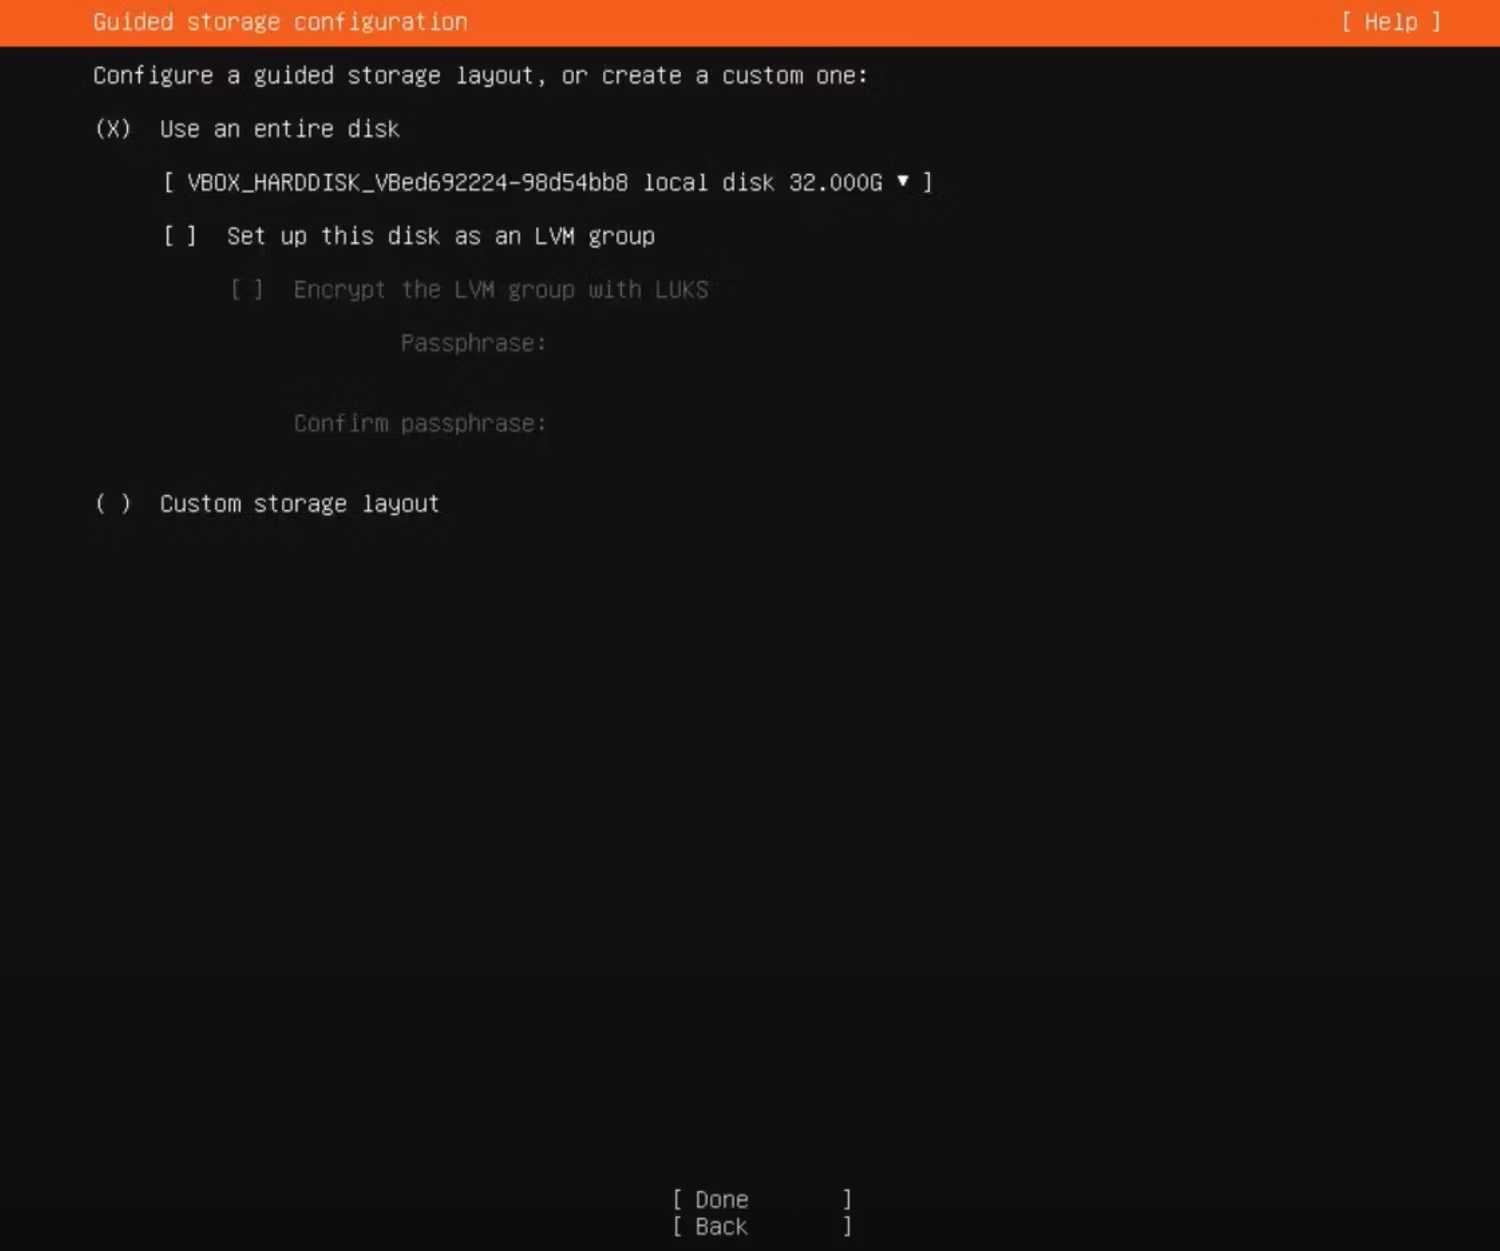
On this screen, there are two options:
Use an entire disk: Selecting this option will erase the entire hard disk and automatically partition the drive for you. Please make sure you don’t have any valuable information stored previously, as you won’t be able to retrieve this information once the partitions are created.
Custom storage layout: This option is solely for intermediate and advanced users, and lets you set up partitions and choose one for installing Ubuntu Server. Avoid this if you are new to installing server operating systems.
Select Done, followed by Enter.
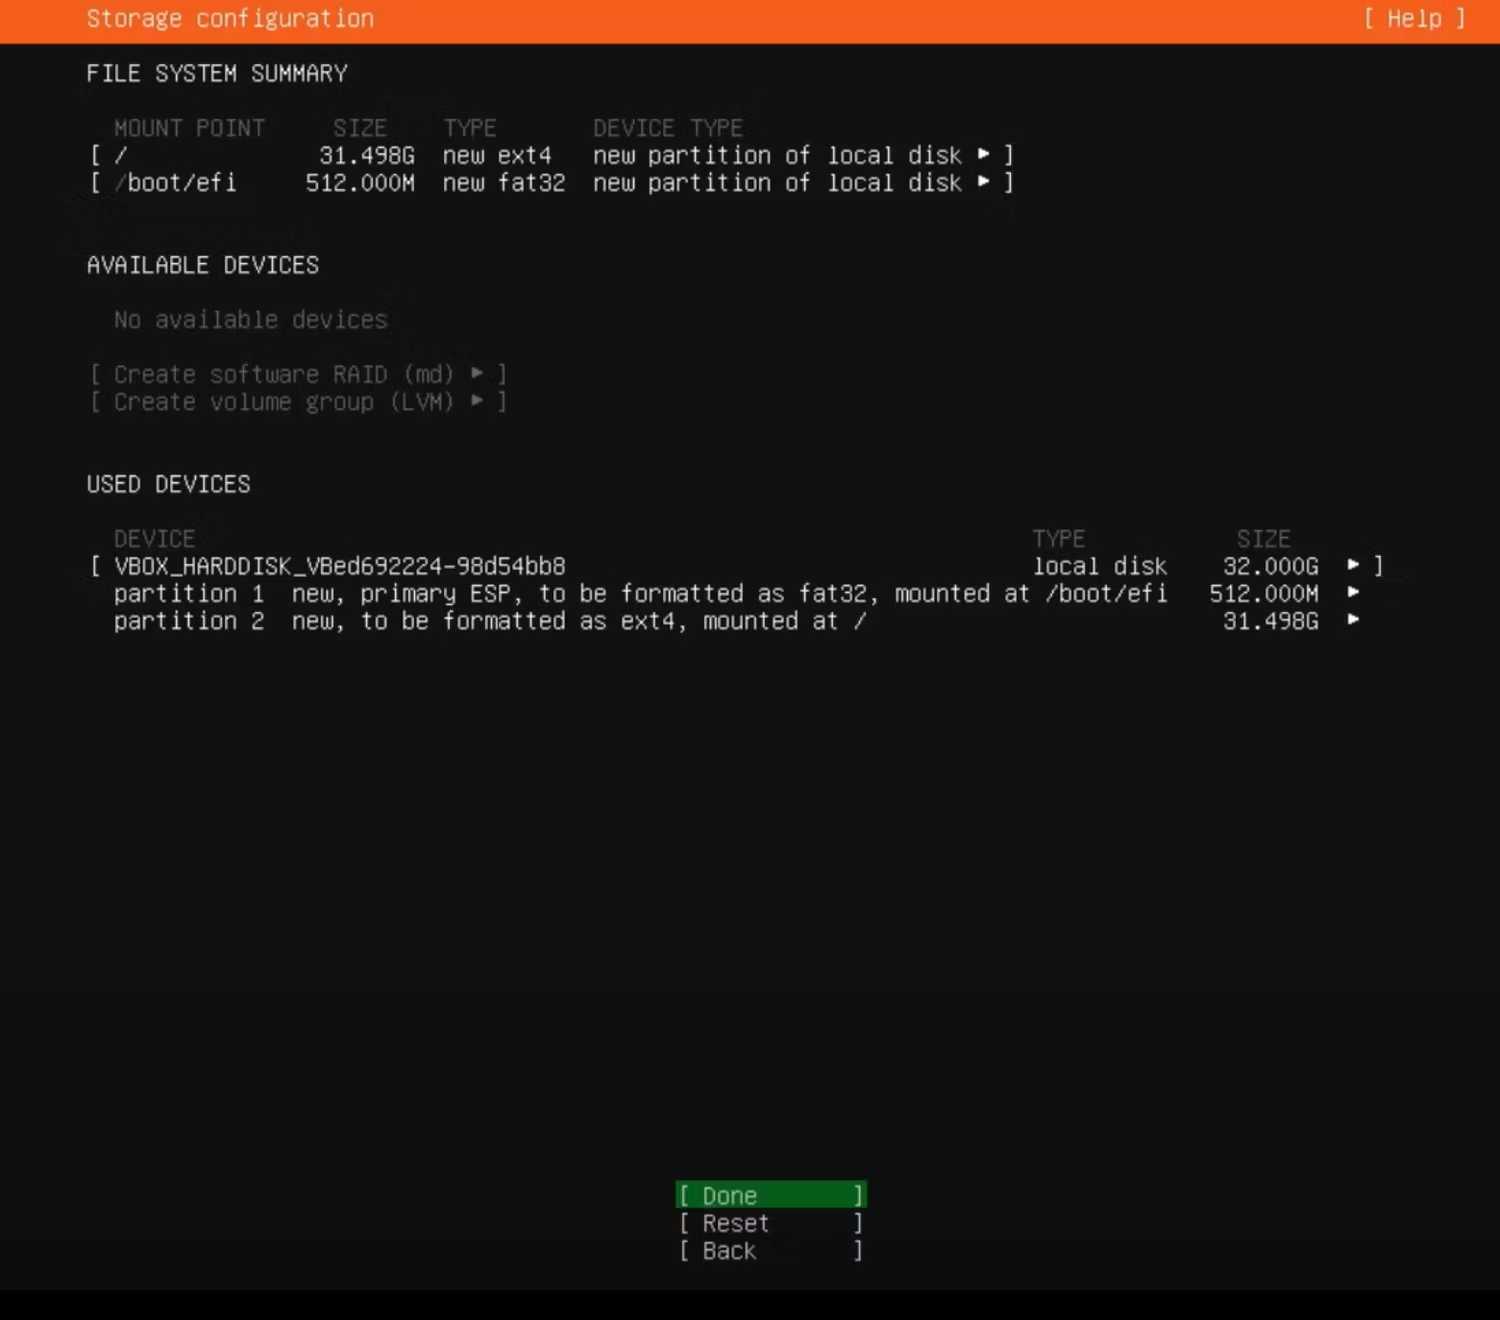
On the subsequent screen, there is a summary of changes which will be made to the system. Review the system configurations, and make changes, as necessary.
Select Done, followed by Enter.
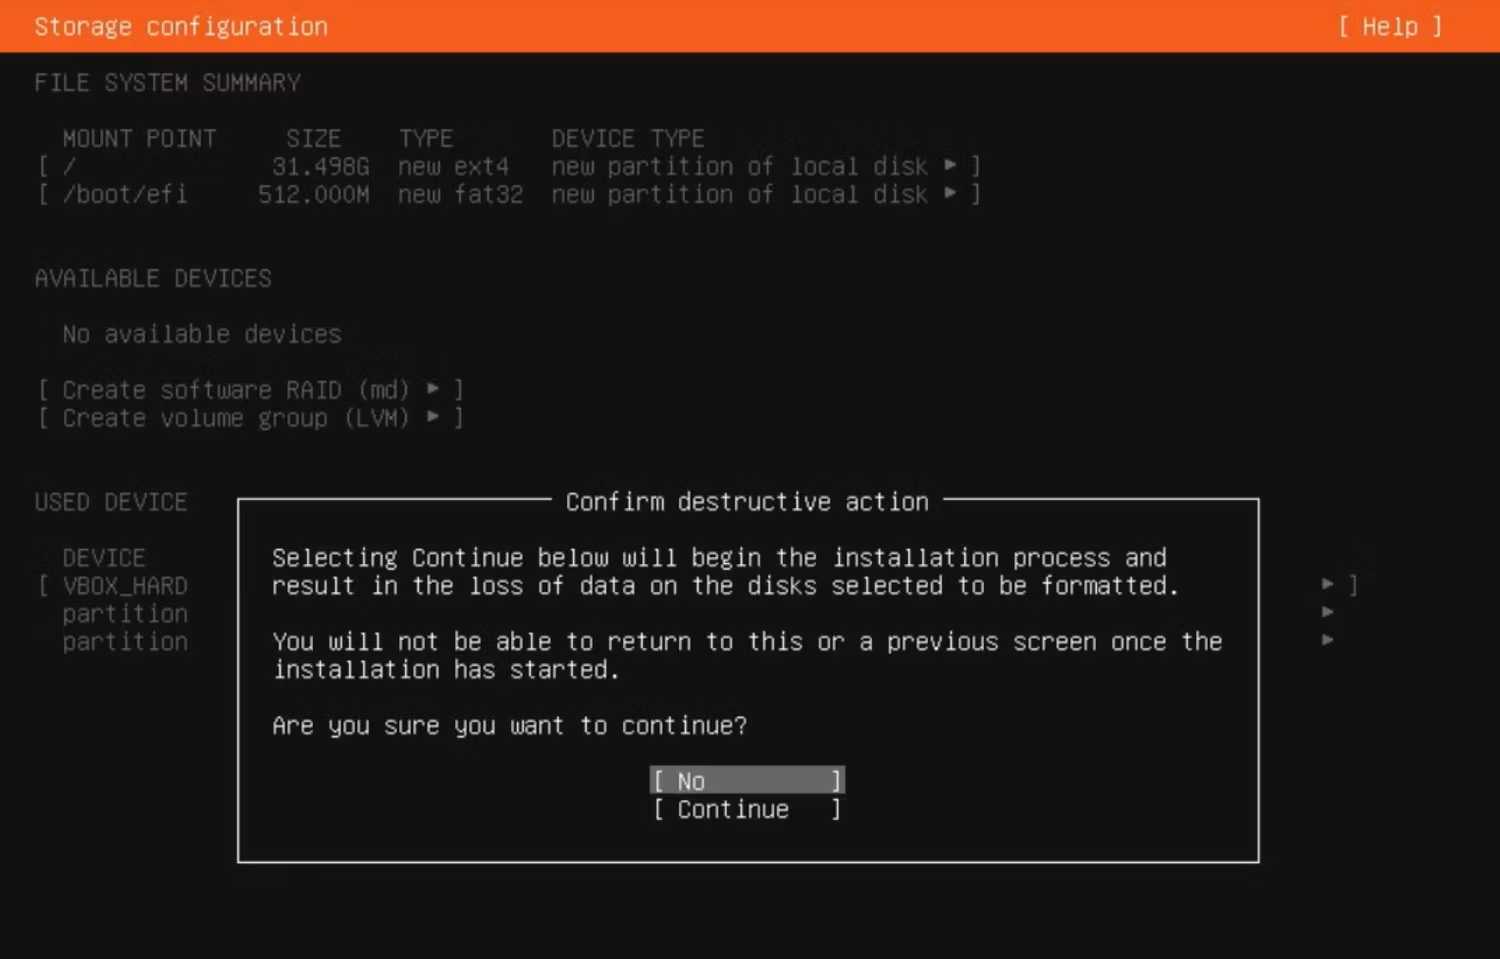
On the next screen, the installer will show a pop-up which asks a final confirmation for beginning the installation process. If you are sure everything is as per requirements, select Continue, or No, as the case might be.
Step 10: Configure Your Profile

Once the installation is completed, the next screen will ask you for the following details:
- Your name
- Your server’s name
- Pick a username
- Choose a password
- Confirm your password
Be sure to give the Ubuntu Server a sensible name so you can easily find it on the network. Also, use a password that is both secure and memorable.
Select Done, followed by Enter.
Step 11: SSH Setup
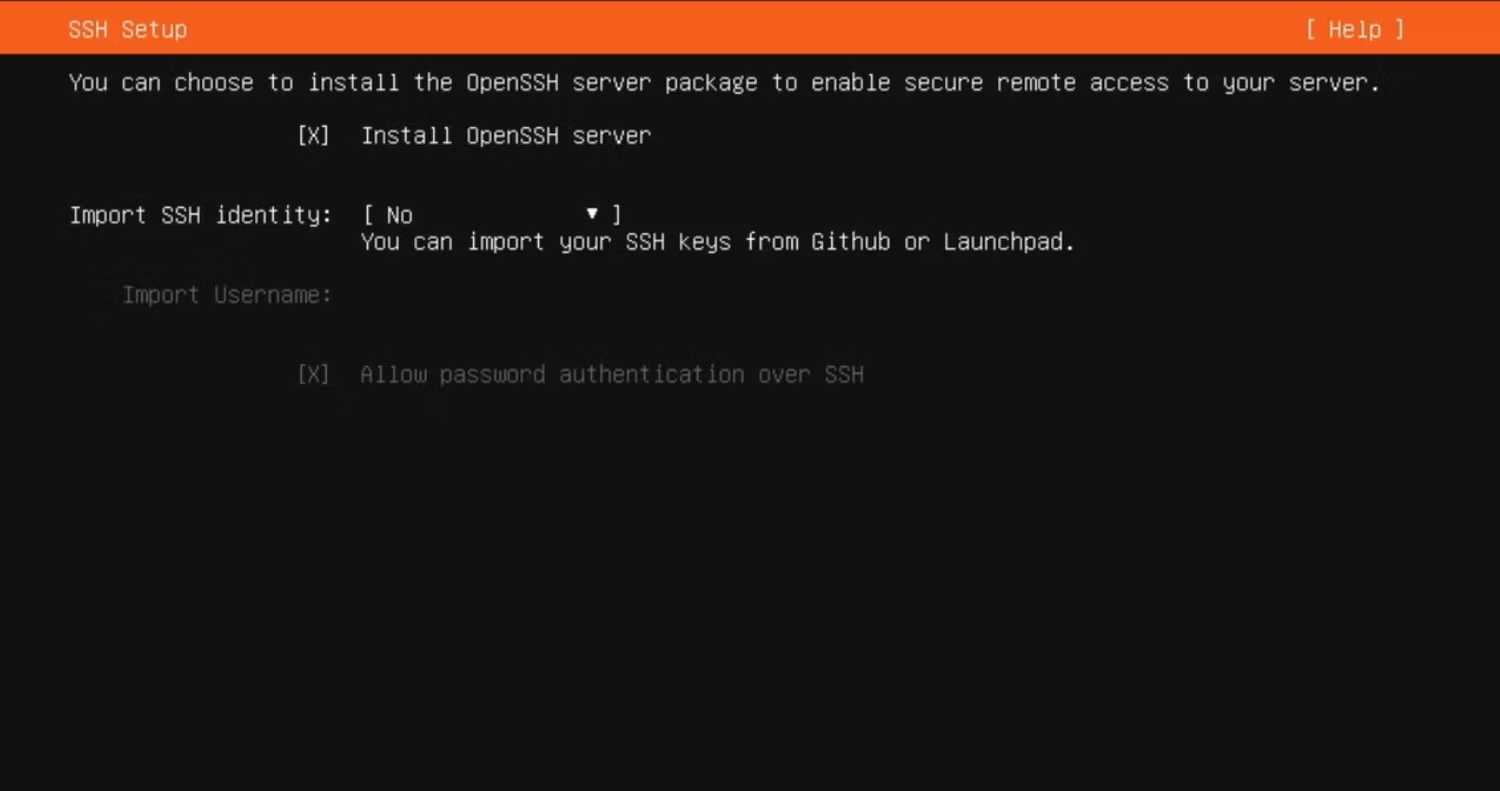
Ubuntu gives you an option to securely access your server remotely by setting up OpenSSH server details. You have the option of importing an SSH identity key from GitHub or Launchpad, if you like.
If you don’t want to import a key, select Done, followed by Enter.
Step 12: Install Featured Server Snaps
There are some popular snaps, which can be installed on the server post installation. Each one has a description so you know what it is for.
Select the required snaps, followed by Done and Enter.
Step 13: Installation Complete
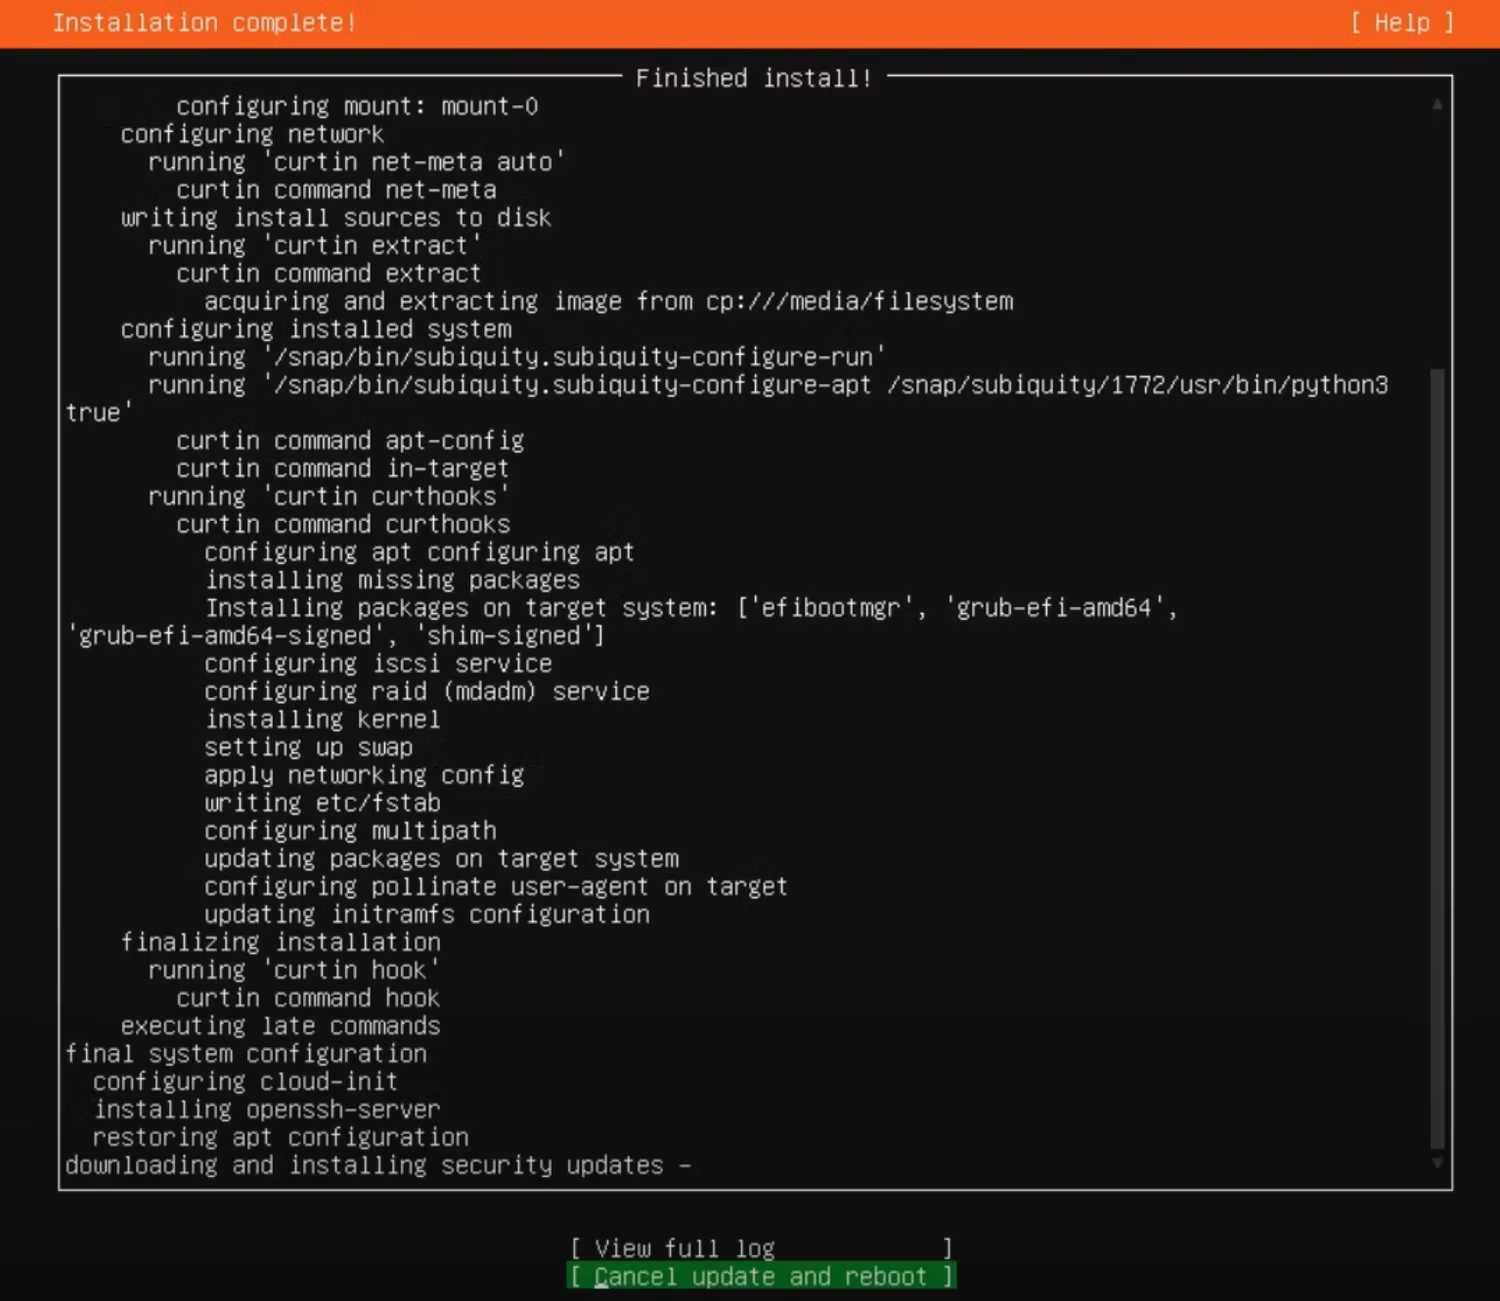
Ubuntu will finish installing the remaining aspects of the server. As soon as it’s done with the installation, select the Reboot option.
Remove the USB drive from the machine, before selecting the Reboot option. Otherwise, Ubuntu might start reinstalling everything as you power the machine up.
If you are not seeing anything besides the log screen, press enter a few times.
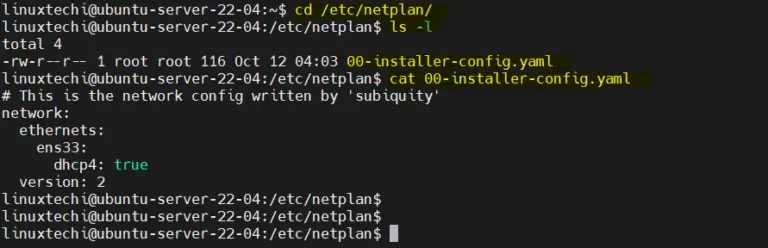
Step 14: Set Static IP Address
look for the netplan configuration file
cd /etc/netplan/
ls -l
cat 00-installer-config.yaml
edit netplan configuration file
network:
  renderer: networkd
  ethernets:
    ens33:
      addresses:
        - 192.168.1.247/24
      nameservers:
        addresses: [4.2.2.2, 8.8.8.8]
      routes:
        - to: default
          via: 192.168.1.1
  version: 2
apply the changes using following netplan command:
sudo netplan apply
Run following ip command to view the ip address on interface:
ip addr show ens33